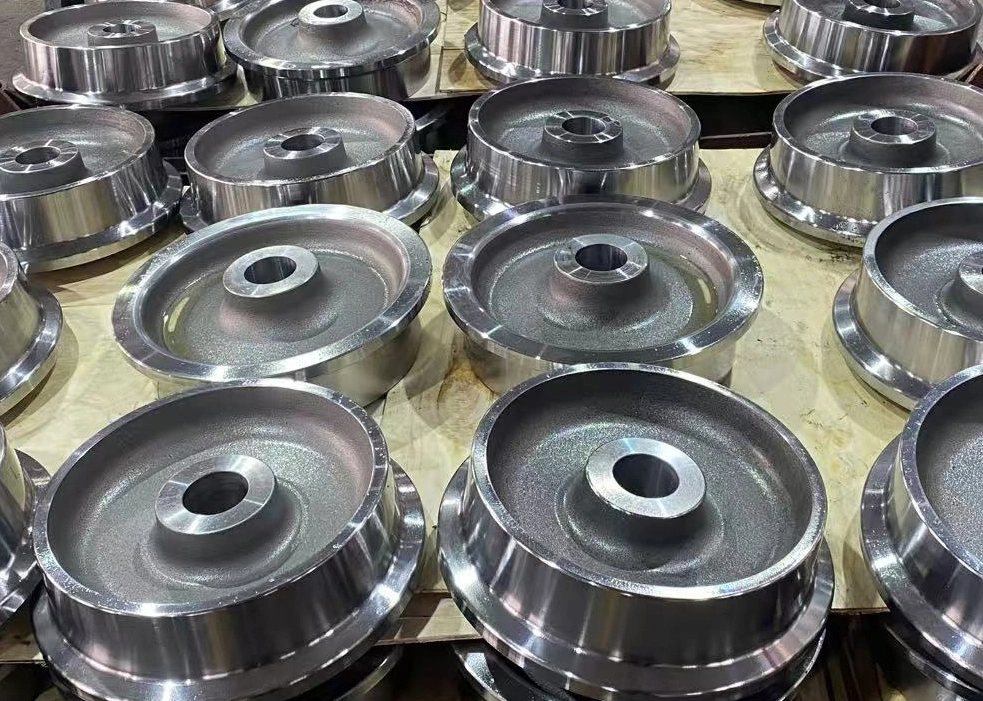
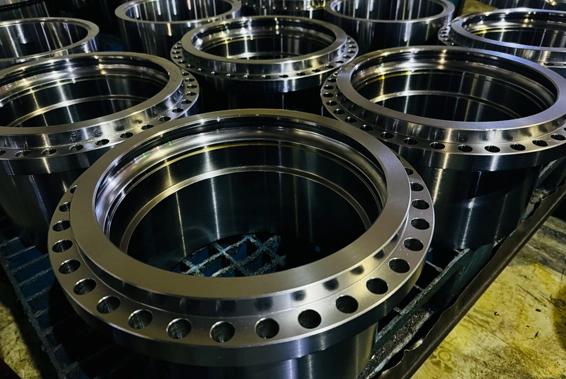
The die-making process involves several precise steps to create high-quality, durable dies for manufacturing processes such as forging, stamping, or casting. Below are the five key steps in the die-making process:
1. Design and Planning
Understanding Requirements: This step involves analyzing the part to be produced, its dimensions, tolerances, and material properties. The die design must ensure the final product meets these specifications.
CAD Modeling: Engineers use computer-aided design (CAD) software to create a detailed model of the die. This includes the shape of the die cavity, draft angles, flash land, and other features.
Simulation and Validation: Advanced simulation tools, such as finite element analysis (FEA), are used to predict how the material will flow within the die and identify potential defects or inefficiencies in the design.
Selection of Materials: Choosing the appropriate material for the die (typically high-strength steel or alloys) is crucial to withstand the high stresses of the forging process or stamping process.
2. Material Preparation
Cutting and Shaping: The raw material for the die is cut to the appropriate size and shape using cutting tools, bandsaws, or CNC machines.
Heat Treatment: The material may undergo heat treatment (e.g., hardening and tempering) to achieve the necessary hardness and toughness for die-making. This ensures the die can withstand high pressures and repeated use without deforming or wearing quickly.
3. Machining and Shaping
Rough Machining: Large cutting tools are used to remove excess material and create the basic shape of the die.
Precision Machining: CNC machines, lathes, milling machines, or EDM (electrical discharge machining) are used to create the intricate details of the die, such as cavities, grooves, and contours.
Surface Finish: The die surfaces are polished to ensure smooth material flow during forging and to improve the part's surface finish.
4. Assembly and Testing
Die Assembly: If the die consists of multiple components, such as upper and lower halves or inserts, these are assembled and fitted together with high precision.
Test Runs: The die is installed in a forging press or similar machine for test runs. This step ensures that the die produces parts within the specified tolerances and that there are no issues such as misalignment or uneven material flow.
Adjustments: Based on test results, minor adjustments may be made to the die, such as tweaking cavity dimensions or modifying draft angles.
5. Finishing and Quality Control
Final Surface Polishing: The die is given a final polish to improve its performance and reduce wear during production.
Coating or Hardening (if needed): Additional surface treatments, such as nitriding or PVD coatings, may be applied to enhance wear resistance and prolong the die’s lifespan.
Inspection: The finished die is inspected for dimensional accuracy, surface finish, and material hardness. Non-destructive testing (NDT) methods, such as ultrasonic testing, may be used to detect internal defects.
Approval and Documentation: Once the die passes all inspections, it is approved for use, and detailed documentation is provided for reference during production.
Summary of the Steps:
Design and Planning: Create a detailed die design using CAD and simulation tools.
Material Preparation: Select and prepare the raw material, including heat treatment.
Machining and Shaping: Use precision machining to shape the die and add intricate details.
Assembly and Testing: Assemble the die components and perform test runs to ensure functionality.
Finishing and Quality Control: Polish, treat, and inspect the die for final approval.
These steps ensure that the dies are durable, precise, and capable of producing high-quality parts consistently over their lifespan.
 English
  Deutsch
  français
  русский
  فارسی
فارسی  العربية
  Español
  日本語
日本語  한국어
한국어  italiano
  português
  dansk
dansk  Suomi
Suomi 


